How to Connect Task Master MCP to Antigravity CLI Agent

AI coding agents are very good at writing code, but when a project becomes large, simply asking an agent to "build the whole thing" is not a reliable engineering workflow. I wanted a persistent planning layer that could keep track of requirements, tasks, dependencies, subtasks, priorities, and completion status.
That is why I decided to test Task Master as an MCP server with a CLI coding agent. In my own setup I used Google Antigravity CLI (agy) as the coding agent. The MCP portion is client-agnostic, though, so the same general procedure can be followed with another MCP-capable CLI coding agent.
What I am building
CLI AI Coding Agent
        |
        | MCP
        v
Task Master MCP Server
        |
        | AI provider API
        v
Google Gemini API       ← my demonstration
        |
        +-- PRD parsing
        +-- Task generation
        +-- Dependencies
        +-- Subtasks
        +-- Task status
        |
        v
.taskmaster/
In my demonstration, Antigravity is responsible for coding-agent interaction and Task Master is responsible for planning and task management. Task Master's AI operations use my Gemini API credentials. A reader using another provider follows the same workflow but substitutes that provider's API key and model.
My environment
- Linux
- Fish shell
- Google Antigravity CLI using
agy - Node.js and npm
- Git-based production project
- Task Master
0.43.1during my original installation
I originally tested Antigravity's subscription-based authentication with Task Master's mcp-sampling provider. The MCP connection worked, but the actual AI sampling request did not. I therefore separate the two concepts in this guide and use a direct Gemini API key for the AI-provider demonstration.
Part 1 — Install Task Master
Step 1 — Install the package
I started with the global installation:
npm install -g task-master-aiStep 2 — Confirm the installation
The second installation completed successfully:
npm reported:
added 836 packages in 2mThe installed package was:
task-master-ai@0.43.1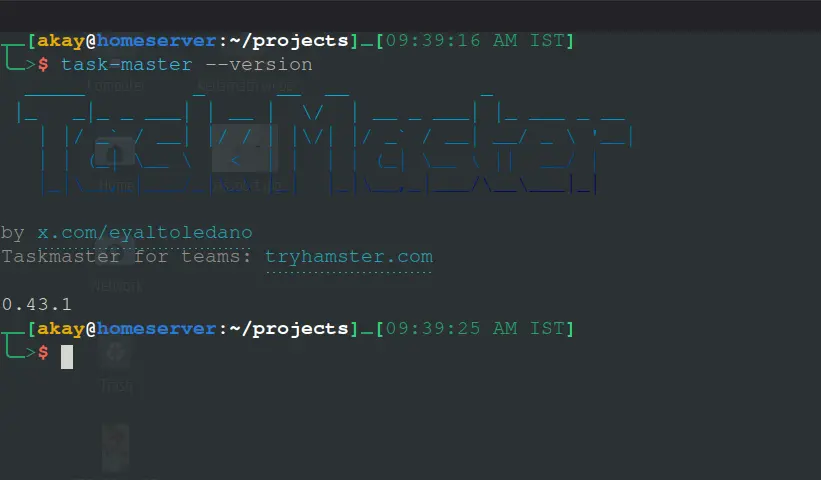
Part 2 — Fix the CLI PATH if necessary
Step 3 — Check whether the command is visible
command -v task-master
task-master --version
command -v task-master-mcp
My package was installed correctly, but Fish ( my default shell ) initially could not find the task-master command. I discovered that npm had placed the executables under:
/home/akay/.npm-global/bin/task-master
/home/akay/.npm-global/bin/task-master-ai
/home/akay/.npm-global/bin/task-master-mcp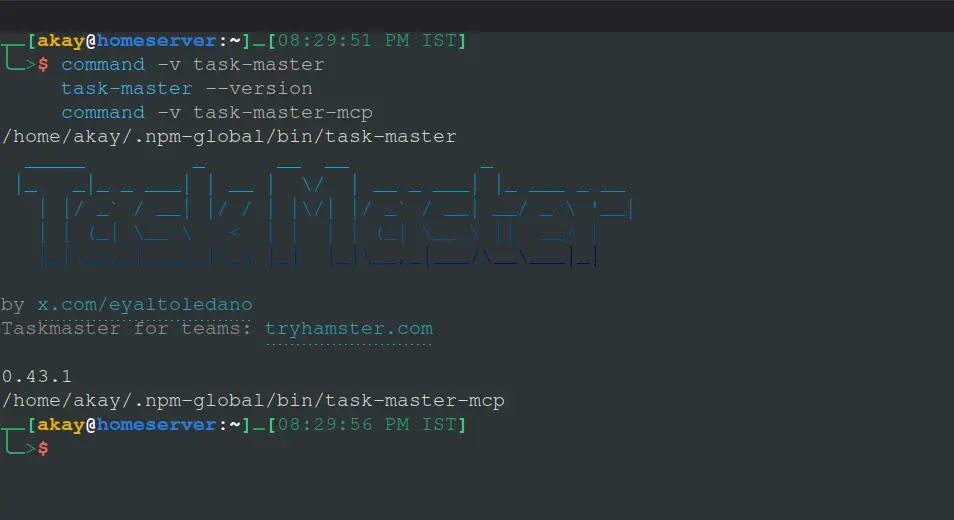
The problem was therefore not Task Master itself. The npm global binary directory was missing from my Fish PATH.
Step 4 — Fix the PATH in Fish Terminal
I used Fish's native path management:
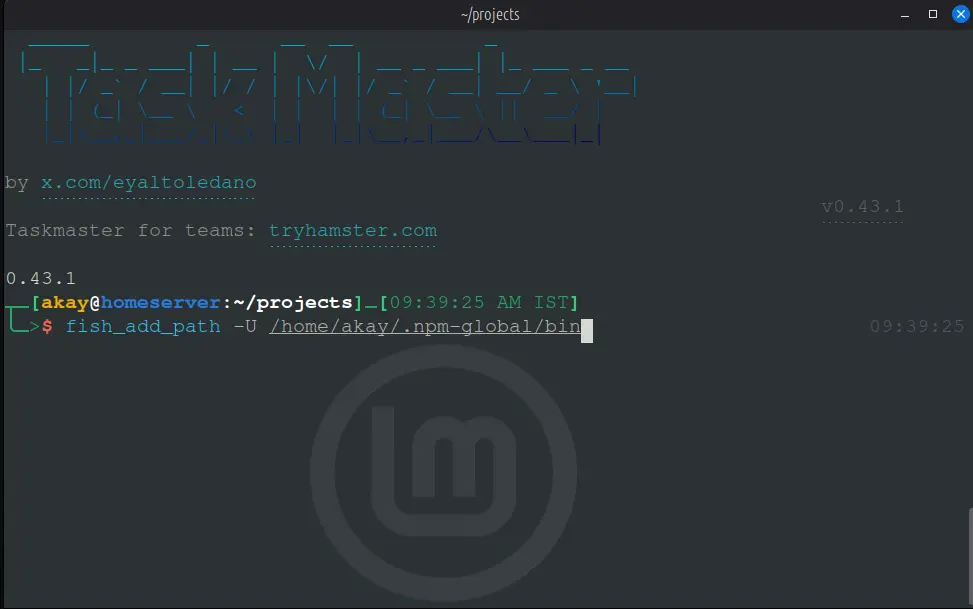
fish_add_path -U /home/akay/.npm-global/binThen I started a fresh Fish session:
exec fishFinally, I verified:
command -v task-master
task-master --version
command -v task-master-mcp
Once these commands returned valid paths/version information, the Task Master CLI installation was complete.
Part 3 — Connect Task Master to the CLI coding agent through MCP
Step 5 — Inspect the existing MCP configuration first
Before changing anything, I checked my Antigravity MCP configuration:
cat ~/.gemini/config/mcp_config.jsonMy file was empty at that point, so I did not have to merge the Task Master entry with an existing configuration.
Step 6 — Add Task Master to the MCP configuration
I opened the configuration file:
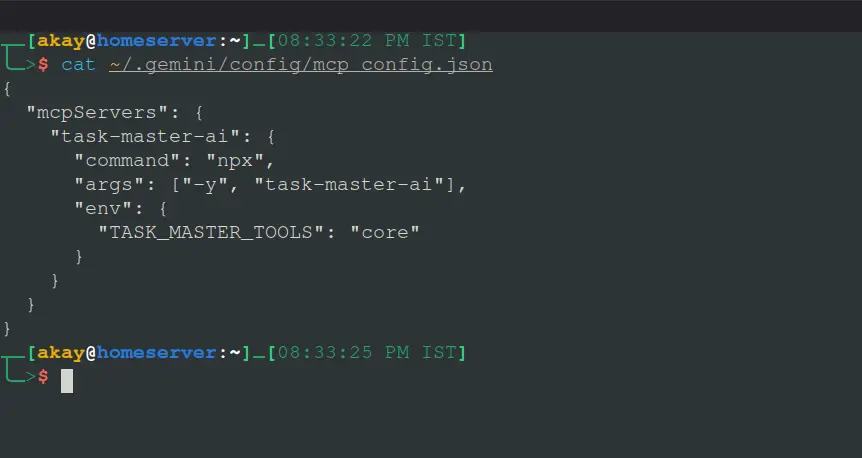
nano ~/.gemini/config/mcp_config.jsonFor the MCP server itself, I used:
{
  "mcpServers": {
    "task-master-ai": {
      "command": "npx",
      "args": ["-y", "task-master-ai"],
      "env": {
        "TASK_MASTER_TOOLS": "core"
      }
    }
  }
}
Step 7 — Validate the JSON
python -m json.tool ~/.gemini/config/mcp_config.jsonI wanted to catch a malformed JSON configuration before starting the coding agent.
Step 8 — Start the coding agent from the project
I started Antigravity from inside my project directory:
cd ~/webapp
agy
Inside Antigravity, I opened the MCP manager:
/mcpTask Master appeared as connected and its tools became available.
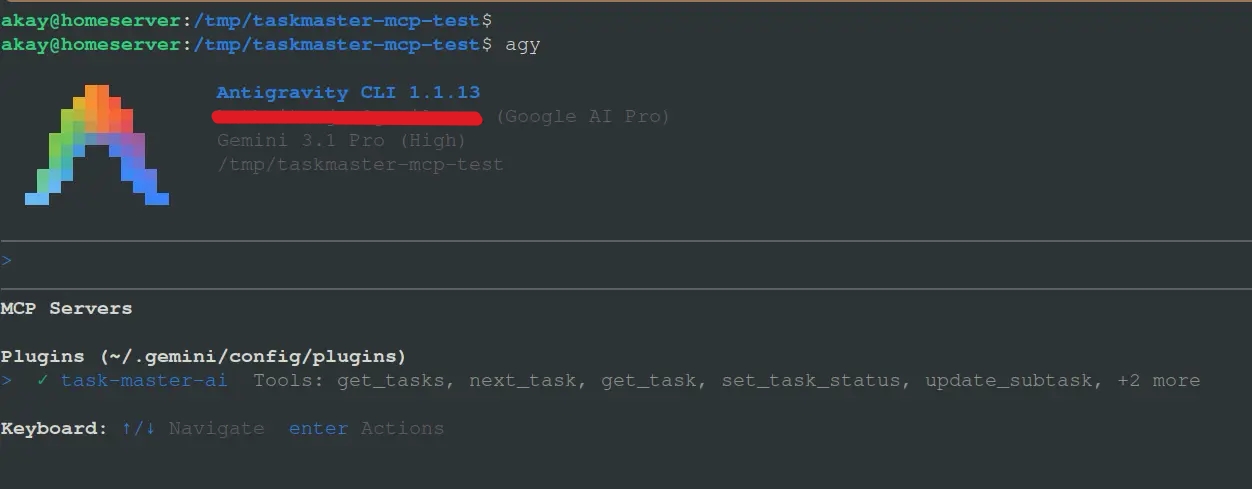
Part 4 — Verify that Task Master tools are actually exposed
A connected MCP server is good, but I wanted to verify that the actual Task Master tools were available to the coding agent.
Because I configured the core tool tier, the coding agent reported these seven Task Master tools:
expand_task
get_task
get_tasks
next_task
parse_prd
set_task_status
update_subtask
This was an important verification because it proved that the Task Master MCP server was not merely present in the configuration; its tools were actually exposed to the coding agent.
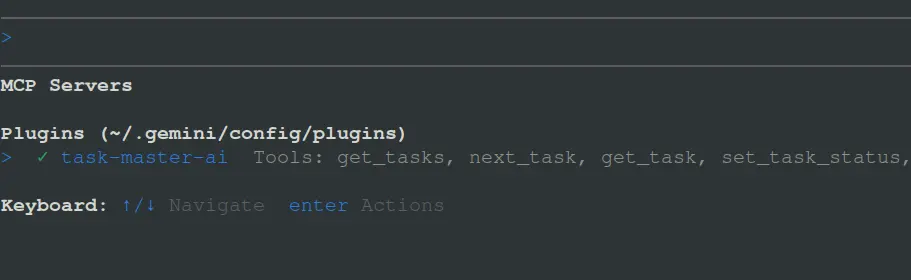
I also learned not to confuse the MCP server's environment with the parent coding-agent environment. When the agent reported that TASK_MASTER_TOOLS was not visible in its own environment, that did not mean the setting was broken. The stronger evidence was that the expected core tool set was actually exposed.
Part 5 — Initialize Task Master in the project
Step 9 — Run Task Master initialization
cd ~/webapp
task-master init
During my initialization I made these choices:
- Build mode: Solo with Task Master
- Git initialization: Yes
- Store tasks in Git: Yes
- AI IDE rules: No
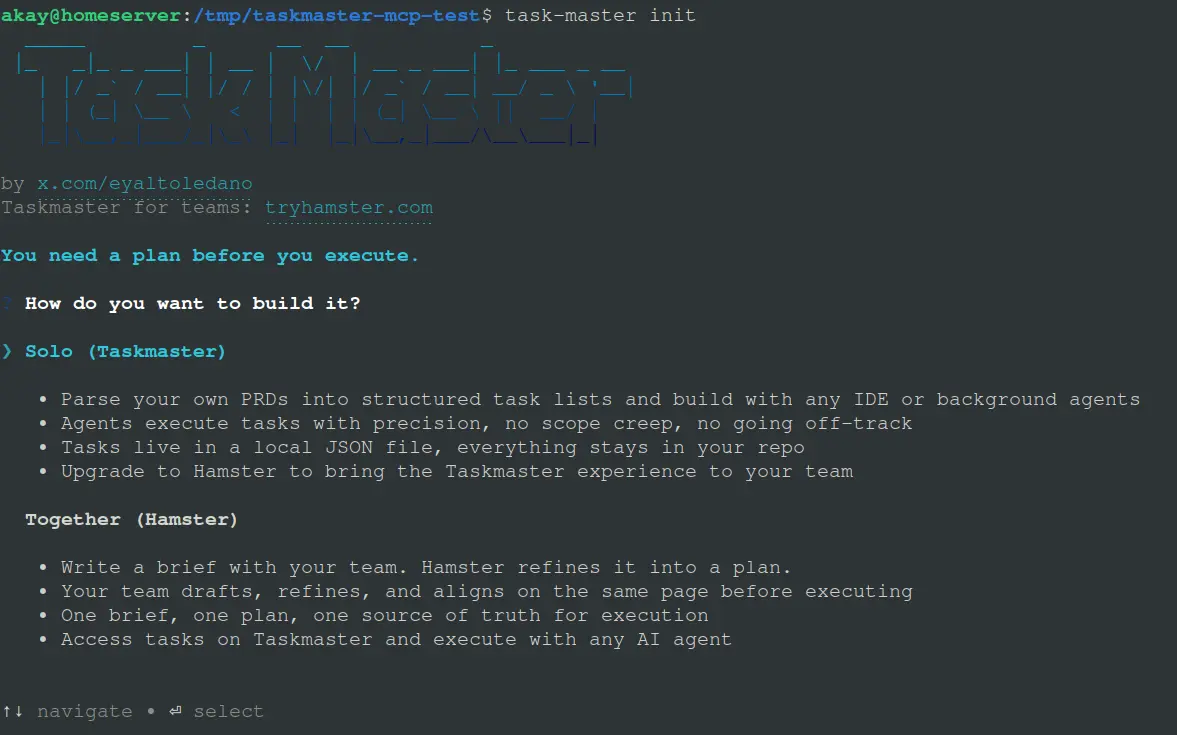
I initially selected the Together/Hamster option, but restarted the initialization because I wanted the local Task Master workflow.
Part 6 — Create a safe test environment
This became one of the most important parts of my setup. I did not want my first AI-powered Task Master experiment to modify anything in my real application.
I therefore created an isolated test project:
mkdir -p /tmp/taskmaster-mcp-test
cd /tmp/taskmaster-mcp-test
I created a tiny PRD outside the production project:
cat > /tmp/taskmaster-sampling-test.txt <<'EOF'
# MCP Sampling Test

## Goal
Create a minimal health-check feature.

## Requirements
- Add a health-check endpoint.
- Return HTTP 200 when the application is healthy.
EOF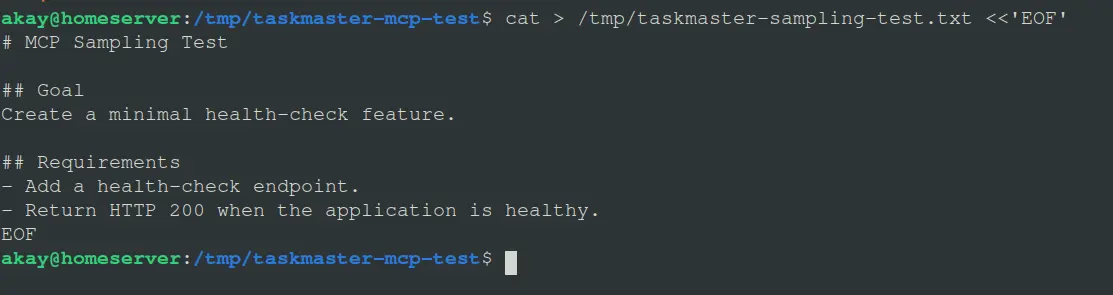
I then initialized Task Master inside the isolated directory:
cd /tmp/taskmaster-mcp-test
task-master init
And placed the test PRD in the Task Master documents directory:
mkdir -p .taskmaster/docs
cp /tmp/taskmaster-sampling-test.txt .taskmaster/docs/prd.txt
Part 7 — Configure the AI provider
This is where the setup becomes provider-specific. The MCP connection remains the same, but Task Master needs an AI provider for AI-powered operations such as PRD parsing and task generation.
I use Google Gemini API for the demonstration in this article. A reader using another provider follows the same sequence but supplies that provider's API key and selects its corresponding provider/model.
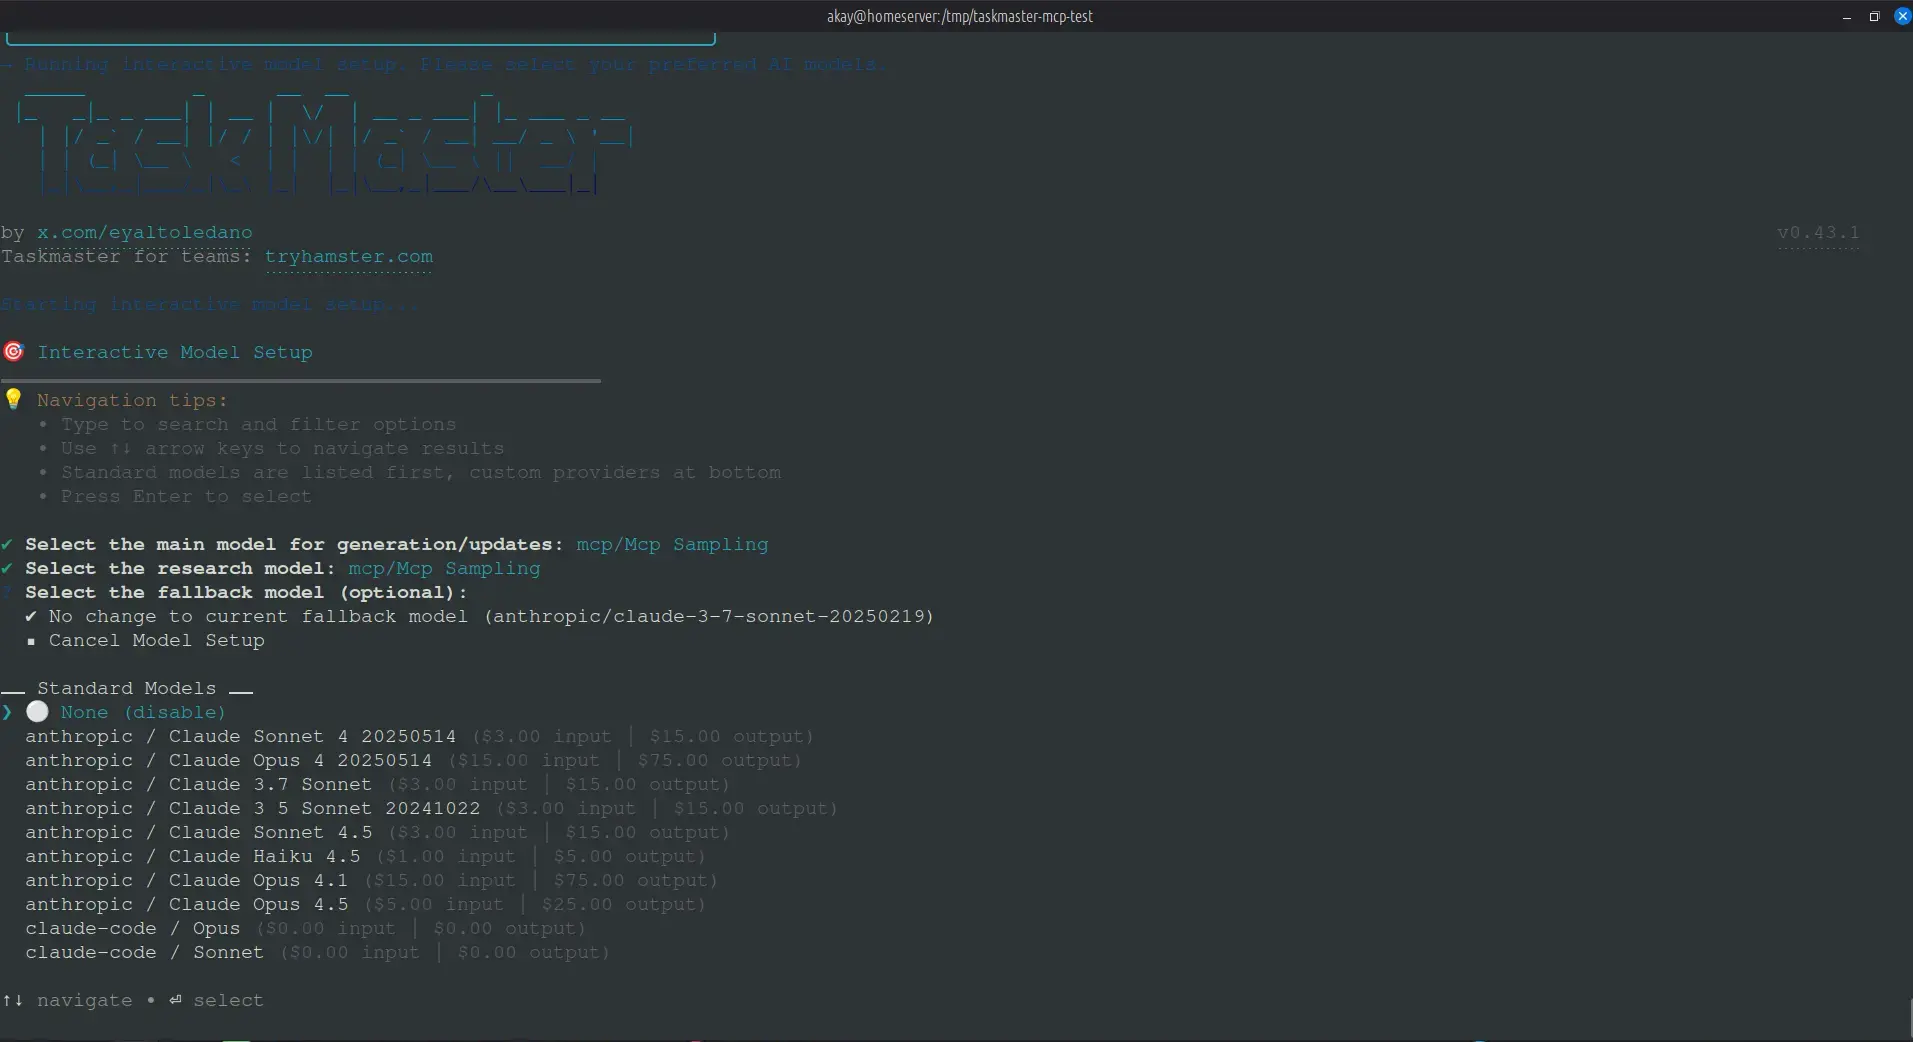
Step 10 — Open the model setup wizard
I run the setup from the project where I want the model configuration to apply:
cd /tmp/taskmaster-mcp-test
task-master models --setup
I then configure the Main model for the provider I want to use.
For this demonstration:
Provider: Google Gemini
Credential: my Google Gemini API key
For another provider, the reader would select the corresponding provider instead:
Google Gemini  → GOOGLE_API_KEY
OpenAI         → OPENAI_API_KEY
Anthropic      → ANTHROPIC_API_KEY
OpenRouter     → OPENROUTER_API_KEY
The exact model ID should be selected from the models available to the chosen provider rather than copied blindly from another provider's example.
Step 11 — Store the Gemini API key safely
Task Master supports provider API keys through the project's .env file for CLI usage, and through the MCP client's env configuration when the AI operation is being performed through MCP. The official Task Master configuration uses GOOGLE_API_KEY for Google Gemini.
For my project-level CLI test, I can create:
nano .envand add:
GOOGLE_API_KEY=YOUR_GEMINI_API_KEYI never paste the real key into the source code, a Git-tracked file, or this blog post. I also make sure secret files are excluded from Git.
Step 12 — Configure Main, Research and Fallback
Task Master has three model roles: Main, Research, and Fallback. I can use the same provider for all three for a simple setup, or deliberately use different providers/models for different jobs.
For a simple Gemini-based setup, the conceptual configuration is:
Main       → Gemini / selected model
Research   → Gemini / selected model
Fallback   → Gemini / selected model
I only configure a fallback when I have a provider/model that I have actually authenticated and tested. I do not treat "fallback" as something that should point to an untested provider.
Step 13 — Verify the model configuration
task-master models
task-master models list
I check that the three roles show the providers and models I intended to use.
Part 8 — My first AI test
Step 14 — Test PRD parsing in the isolated project
I deliberately test the provider before putting it back into my production workflow:
cd /tmp/taskmaster-mcp-test
task-master parse-prd .taskmaster/docs/prd.txt
If the CLI asks how to parse the PRD, I select the normal/local parsing option for this controlled test.
The successful path I am looking for is:
Task Master
    ↓
Configured Gemini API provider
    ↓
Gemini model
    ↓
PRD processed
    ↓
Tasks generated
Once this works from the CLI, I have separately proven that Task Master can communicate with my selected AI provider.
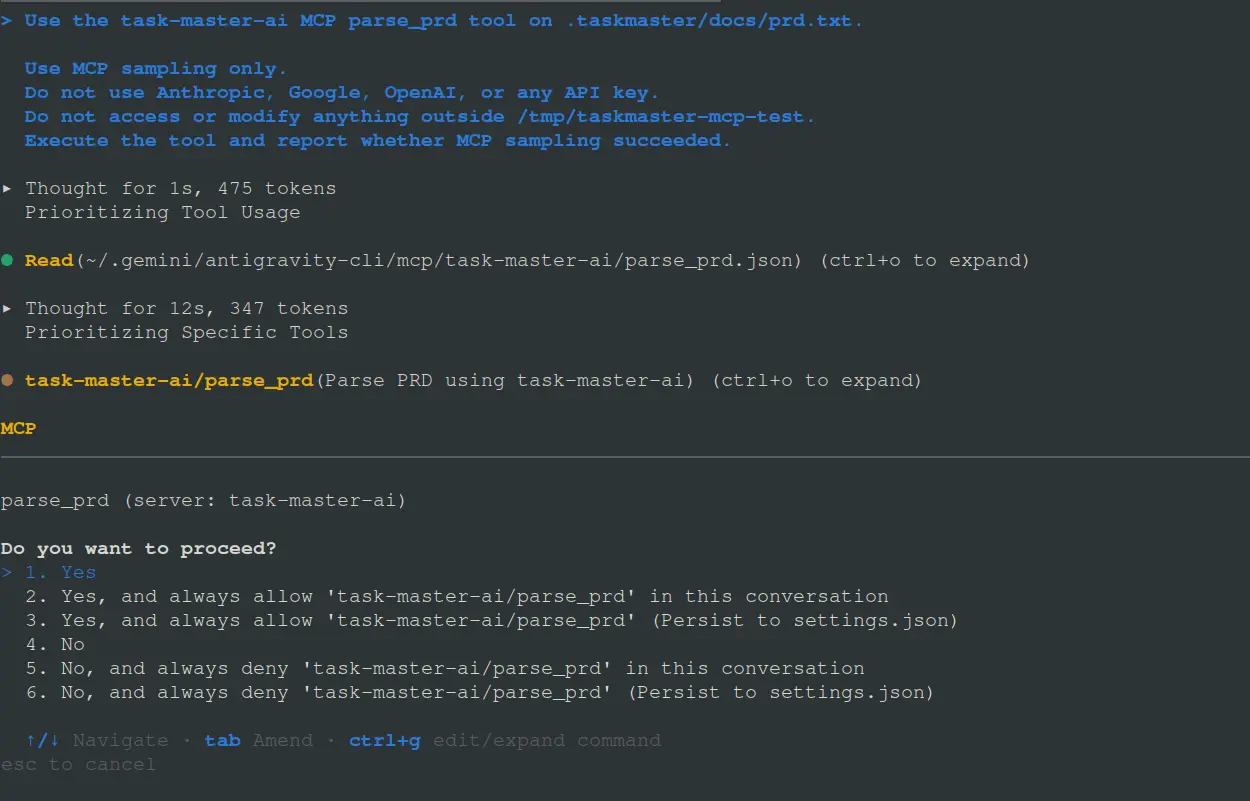
Part 9 — Use the same provider through MCP
After the direct provider test works, I return to the CLI coding agent:
cd /tmp/taskmaster-mcp-test
agy
I verify the MCP connection again:
/mcpThen I ask the coding agent to use Task Master:
Use the task-master-ai MCP server to parse:

.taskmaster/docs/prd.txt

Generate the Task Master implementation tasks.

Do not modify application source code.
Only create and organize the Task Master tasks.
This gives me the complete chain:
Antigravity CLI
      ↓
Task Master MCP
      ↓
Task Master
      ↓
Gemini API
      ↓
Generated Task Master tasks
Part 10 — Review the generated task plan before coding
I do not immediately tell the coding agent to start changing source code. First I ask it to inspect the generated plan:
Review the Task Master task list.

Check:
- missing requirements
- duplicate tasks
- incorrect dependencies
- tasks that are too large
- missing testing tasks
- architectural concerns

Do not modify application code.
This review step is important because the goal is not merely to generate a list of tasks. I want a usable implementation plan before autonomous coding begins.
Part 11 — Start the actual coding workflow
Once I approve the task graph, I use Task Master as the source of truth for implementation order:
Use Task Master as the source of truth for implementation order.

Find the next dependency-safe task.

Before implementing it:
1. Inspect the relevant existing code.
2. Understand the architecture.
3. Explain the implementation approach.
4. Implement only that task.
5. Run the relevant tests.
6. Review the changes.
7. Update Task Master with the implementation result.
8. Mark the task complete only when the acceptance criteria pass.

Do not implement future tasks prematurely.
My complete AI-assisted development loop
PRD
 ↓
Task Master
 ↓
Task generation
 ↓
Dependency analysis
 ↓
Task review
 ↓
Next dependency-safe task
 ↓
AI coding agent
 ↓
Implementation
 ↓
Tests
 ↓
Code/diff review
 ↓
Task Master update
 ↓
Task completed
 ↓
Next task
This is the part I find most useful. Instead of giving the coding agent one enormous requirement and allowing it to make a large number of unrelated changes, I keep the project organized around a persistent task plan and move through the work in controlled units.
Part 12 — The same workflow with another AI provider
The reader does not need to use Gemini. The important part is understanding which layer is being changed.
| Component | My demonstration | Alternative |
|---|---|---|
| CLI coding agent | Antigravity CLI | Any MCP-capable CLI coding agent |
| MCP server | Task Master | Task Master |
| AI provider | Google Gemini | OpenAI, Anthropic, OpenRouter, etc. |
| Credential | Google Gemini API key | Your provider's API key/authentication |
| Task workflow | PRD → tasks → implementation | Same workflow |
The commands used to install and initialize Task Master remain the same. The provider-specific part is the model selection and authentication.
Important — API authentication is separate from my Antigravity login
One question I had during this experiment was whether I needed to log out of my Antigravity subscription account and log back in using a "cloud" option before I could use my Gemini API key.
I do not treat those as the same authentication path. In this guide, the Gemini API key is a credential for Task Master's Gemini provider, while Antigravity remains the CLI coding-agent/MCP client. Gemini CLI itself also supports API-key authentication as a separate authentication method.
Therefore, I would not log out of my Antigravity account merely to make Task Master use a Gemini API key. I configure the API credential for the provider that Task Master is using.
My verification checklist
Before I consider the integration ready, I verify each layer independently:
Task Master installed          ✓
Task Master CLI works           ✓
MCP server starts               ✓
MCP client connects             ✓
Task Master tools exposed       ✓
AI provider authenticated       ✓
AI provider responds            ✓
PRD parsing works               ✓
Tasks generated                 ✓
Production project untouched    ✓
Safety: I always test before touching production
If this is the first installation on a machine, I strongly prefer this sequence:
mkdir -p /tmp/taskmaster-test
cd /tmp/taskmaster-test

task-master init

task-master models --setup

# Create a tiny PRD

# Test provider

task-master parse-prd .taskmaster/docs/prd.txt

# Then start the CLI coding agent

agy

# Verify MCP

/mcp
Only after the complete chain works do I move the workflow into my real application.
My final workflow for a production SaaS
Requirements / PRD
        ↓
Task Master
        ↓
Structured task graph
        ↓
Dependency review
        ↓
Complex task expansion
        ↓
Next available task
        ↓
Antigravity / CLI coding agent
        ↓
Repository inspection
        ↓
Implementation
        ↓
Tests
        ↓
Diff review
        ↓
Task Master update
        ↓
Task completed
        ↓
Next task
This turns Task Master into the planning/control layer and the CLI coding agent into the implementation layer.
Practical lessons I learned
- A successful npm installation does not guarantee the command is in PATH. My Fish shell required a persistent npm global binary path.
- DNS failures can look like package-installation failures. My first npm failure was caused by Tailscale DNS routing, not by the deprecation warnings.
- Inspect MCP configuration before overwriting it. My configuration was empty, so I knew I was not deleting an existing server definition.
- Start the coding agent from the intended project directory. That keeps project-level configuration and task state associated with the correct repository.
- Do not confuse MCP connectivity with AI-provider connectivity. Both need separate verification.
- Keep provider credentials separate from application source code. API keys belong in the appropriate environment/credential configuration, not in Git.
- Use a disposable test project first. This was especially important because I was testing an AI agent against a production-ready application.
- Do not permanently approve powerful commands during experimentation. I treated the
pkillrequest as a specific permission request instead of permanently allowing every command beginning withpkill.
Final takeaway
The most useful thing I gained from this experiment was not simply getting Task Master to appear inside Antigravity. It was learning to separate four different layers:
1. Task Master installation
2. MCP server connectivity
3. AI provider authentication/configuration
4. Actual AI model execution
Once those layers are understood separately, the setup becomes much easier to troubleshoot. The MCP client can change, the AI provider can change, and the model can change, while the underlying Task Master workflow remains the same.
In my demonstration I use Google Gemini API because I have a Gemini API key. A reader using OpenAI, Anthropic, OpenRouter, or another supported provider can follow the same process and replace only the provider-specific authentication and model selection.
The end result is a much more controlled AI development workflow: requirements become structured tasks, tasks become dependency-aware implementation units, and the coding agent executes those units while Task Master maintains the project plan.